
Hello crafty friends! I've been hinting around at this post for a little while now, and I am so happy to share with you my very own...DOUBLE CROCHET HAT TUTORIAL and PATTERN!!
So what you will need is a skein of worsted weight yarn of your choice. I really like Hobby Lobby's I Love This Yarn because its affordable and super crazy soft!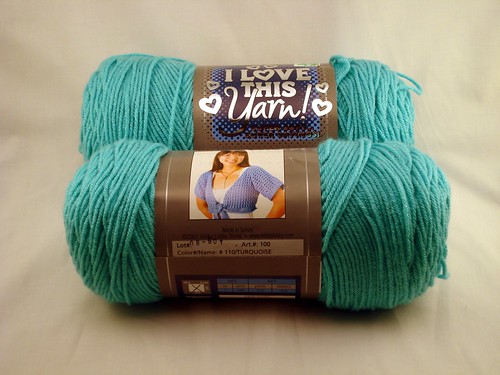
 Using your K hook, create a slip knot and chain 3.
 Insert your hook into the chain 1 space. ^Look at the photo. Once you see the two loops on your hook, pull the yarn over your hook and pull through the two loops. Inside the small round you just made you will need to chain 3 then work in 12 Double Crochet Stitches.
 Here is that chain 3 and the first double crochet stitch. Do you see that small white space mixed with all that yarn goodness? That is the hole you should be working out of.
When you've double crocheted your last stitch, you will need to join with a slip stitch.
 To join with a slip stitch, what you need to do is insert your hook in the chain three space (as seen in the photo) I've aready pulled the yarn over the hook. Then you will pull the yarn through the chain 3 space and the last loop on the hook.
 In this photo you can see at the top that I just finished the slip stitch(sl st) and there is only one loop on the hook. So what you see here is your first "round." At the end of all the photos I'll post the acutal patter, and you will see that each section of the hat is worked in rounds!
ROUND TWO!
 Chain 3! In the same chain(ch) 3 space (see where my finger is pointing? Thats where you want to be.) work 1 double crochet(dc)
 Can you see the chain 3 space and the 1 dc? You will repeat this step in every single round, so familarize yourself with it! ;)
 In each space make 2 dc all the way around.
  You should be able to count 24 double crochet stitches. Then join with a sl. st.
ROUND THREE
 Chain 3. In the same space as ch.3 work one dc. In the next stitch work 1 dc. In the next stitch work 1 dc. In the next stitch work 2 dc. I like to think of it like this: 1, 1, 2. You will repeat this pattern all the way around. You will work two stiches with only one double crochet, then the thrid stitch with 2 double crochet. This is called increasing. Your circle will start expanding here and stay flat too. If you notice it curling up already, then you will need to frog it (unravel it) and try again. Make sure you are making the 1, 1, 2 pattern. At the end of round three join with a sl. st.
ROUND FOUR: Chain 3. 1 dc in the ch.3. space. 1 dc in the first three stitches. 2 dc in the next stitch. Think of it as 1, 1, 1, 2. Repeat that pattern around and join with a sl. st.
ROUND FIVE: Ch 3. 1dc in the ch.3. space. 1 dc in the next four stitches. 2 dc in the fifth stitich. 1, 1, 1, 1, 2. At this point put the crochet circle on your head like you would a hat. If it reaches the widest point of your skull (crown) then you will want to skip down to ROUND SEVEN. For my head and most adult heads, in my opinion you need to add one more round for a good fit.
ROUND SIX:Ch. 3. 1 dc in the ch. 2 space. 1 dc in the next five stitches. 2dc in the sixth stitch. 1, 1, 1, 1, 1, 2.
ROUND SEVEN: Ch. 3. 1dc in the ch. 3 space and each stitch around! (No more tricky increases!) This will bring your hat down like a bucket. From here on out you will repeat this step until your hat is long enough! Once I've reached my desired lenght, which generally is just over my ears, I like to finish the hat with one row of single crochet. It give the hat a nice polished look! ;) Your finished product will look something like this:
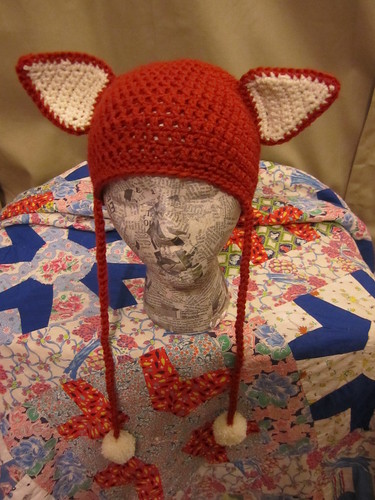
Ok, well not EXACTLY like this, but the basic bone structure! ;)
I am planning on writing up a full Fox Hat pattern for my etsy & for ravelry! I've received really good response from my etsy store from customers buying fox hats! It makes me super excited that I'm getting orders often!!
Here is the written hat pattern!Using a K hook. Make a slip knot and chain 3. Join with sl. st.
Round 1: Chain 3. Work 12 dc in the sl. st. round. Join with a sl. st. in the ch. 3 space
Round 2: Ch 3. Dc 1 in the same ch.3 space. Dc 2 in each stitch around. Join with a sl. st. to the chain 3 space.
Round 3: Chain 3. Dc 1 in the same space. *Dc 1 in the next two stitches. Dc 2 in the next (third) stitch. (1, 1, 2)*. Repeat **Join with sl. st
Round 4: Ch 3. Dc 1 in the same space. *Dc 1 in the next three stitches. Dc 2 in the next (fourth) stitch. (1, 1, 1, 2)*. Repeat ** around and join with sl. st. to the chain 3 space.
Round 5: Chain 3. Dc 1 in the same space. *Dc 1 in the next four stitches. Dc 2 in the next (fifth stitch (1, 1, 1, 1, 2)*. Repeat ** around. Join with sl. st. to the chain 3 space.
Round 6: Chain 3. Dc 1 in the same space. *Dc 1 in the next five stitches. Dc 2 in the next (sixth) stitch (1, 1, 1, 1, 1, 2)*. Repeat ** around. Join with sl st. to the chain 3 space.
Round 7-14: Chain 3. Dc in each stitch around. Join with a sl st to the chain 3 space.
Round 15: Chain 1. SC in each stitch around. Join with a sl. st. to the chain 1 space. Cut the yarn and leave about 4" for finishing. Yarn over and pull yarn through the sl. st. loop. Weave in the ends.
There you have it!! If you find any problems with the pattern or if you run into some difficulty, shoot me an email.. I'll be happy to help you out! You can send those emails to heatherxdawn@gmail.com
I hope it's easy enough to understand! If you don't know how to crochet but want to begin... you can totally do it! There are a ton of GREAT tutorials online and great books out there that you can research! If I could teach myself to crochet, then you can too!! Best Luck!
No comments:
Post a Comment